Uninstalling DJ Java Decompiler:
DJ Java Decompiler has successfully passed Microsoft-designed tests for compatibility and reliability with Windows® 7 and received "Compatible with Windows 7" logo. The process of uninstalling DJ Java Decompiler is simple and easy.
Click on Start, then Settings, then Control Panel. Double-click the Add/Remove Programs icon in the Windows Control Panel. Select DJ Java Decompiler in the list of installed programs and click the Add/Remove button. Follow the instructions.
Windows 8 - Uninstall Programs
- Right-click on the screen at bottom-left corner and choose the Control Panel from the pop-up menu.
- When the Control Panel appears, choose Uninstall a Program from the Programs category.
- Select the program to uninstall and then click its Uninstall button.
- Click Yes to confirm the program uninstall.
Windows 7 and Vista - Uninstall Programs
- Click Start
- Select Control Panel
- Select Programs
- Click Programs and Features
- Select the program you want to uninstall by clicking on it, and then click the Uninstall button.
You may need administrator privileges to remove programs.

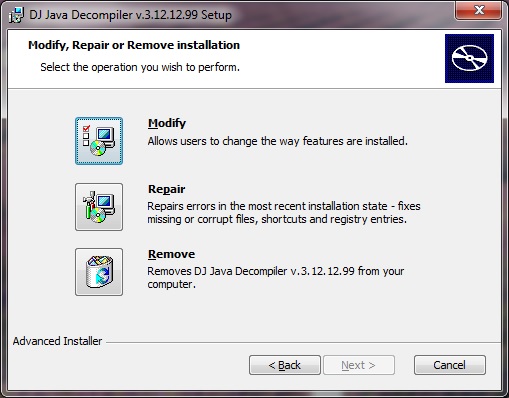
Alternatively, you can run the installer (SetupDJ312RN) to Modify, Repair or Remove installation of DJ Java Decompiler.

Installation
Uninstall previous version of DJ Java Decompiler from Add/Remove Programs icon in the Windows Control Panel.
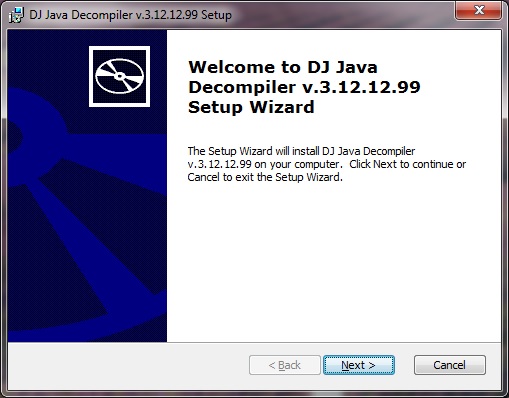
To install or re-install DJ Java Decompiler run SetupDJ312RN3.exe (SetupDJnn.MSI) and follow the onscreen instructions.
SetupDJ312RN3.exe is digitally signed with Symantec/VeriSign Digital ID Class 3 - Microsoft Software Validation v2


For best operation, DJ Java Decompiler should be "associated" with .class, .jar, .java and .jad file name extensions. This allows DJ Java Decompiler to be started automatically when you open these files from Windows Explorer, My Computer, etc.
Installation folder:
By default, all DJ Java Decompiler files are installed to the "Program Files\decomp" folder.
To install into a different folder, click the Browse button, and select another folder.

When you first run DJ Java Decompiler the program will try to create some application setting and configuration files in the appropriate user data folder (CSIDL_APPDATA). DJ Java Decompiler creates a different set of configuration files for each user.
(Important Note: Do not delete, open or edit these files directly! These files should be modified only at run time to avoid making changes that affect other modules.)